By request, I've made a tutorial for the kanzashi flowers I posted here previously.
I've seen some people recommend you starch the fabric first to make the folding easier. I personally found no problem with most of my fabrics except the dark green satiny one in the link above because it was really slippery when I folded it. However, if you're new to origami or fabric, you may want to invest in a bag of cheap clothespins or something similar.
Note: if you're not big on sewing, you can easily replace any time I say "sew" with "pull out your hot glue gun" ;)
Here goes!
Find a small piece of fabric! This scrap that I used is about the size of one side of a pillow case, and I only used 1/4 of it.
Iron lines into the fabric where you want to cut. Or, use chalk if you prefer.(Note: safety scissors don't work well on fabric. I switched out after about three minutes of frustrated snipping)
Yay for sharp scissors! Cut off one strip. Mine was roughly 2-3 inches wide, but you can vary the size. Obviously, the larger the width, the larger the petals.
Fold the corner over to make a square.
...and cut it out!
Fold one corner up to make a triangle. Make sure the right (patterned) side of the fabric is facing outwards.
Fold one corner up...
...and then the other.
Then flip the whole thing over, taking note of the position of the point where all the sides come together (the "top" in the previous photo)
Fold one of the side edges in to the center (side = not the point noted above or its opposite)...
...and then the other.
Then fold both sides in this way.
It'll look like this from the side.
...and like this from the top.
Clip it together, and put it aside.
Make some more! I had 6 petals total, but you can make more or less for a different fullness. I wouldn't advise using less than 5 or more than 15 petals though, but you can experiment.
Time to sew! (Or hot glue, if you choose that route). You know the deal, get a matching or slightly darker colored thread and a thin needle. Do yourself a favor and get a very thin sharp needle with a small eyehole: you'll be sewing through 12 layers of fabric at times. If you don't have a matching thread color, or you have a light colored patternless fabric, I would advise going the hot glue route for any stitches that come later that will show on the front.
Sew all the way through one petal, somewhere around the middle...
...making sure you go through both of those little triangles.
Sew another petal on. Try to get the rounded ends aligned perfectly. Don't worry about the pointy ends-- we'll be cutting them off soon.
All strung together!
Time to cut off the pointy ends. Cut them off about 1/4-1/2 inch behind the place where the thread passed through.
Try to get the cut lines pretty even.
Now spread the petals out into a circular shape.
You get them into the flower shape by pushing down on the center bump.
Puff them all out, and then sew the last petal to the first to fix the shape of the flower.
Turn the flower over, and sew the bottom center area of each petal to that of its adjacent petal. This will help to shape your flower.
Now, turn your flower right side up and sew the indicated areas similarly. Try to keep these stitches small, as they will be visible.
Now flip your flower over again and do a running stitch through all the petals near the hole in the center...
...and then pull the thread in to close the hole.
Do the same for the top of the flower. You can stop here for a plain kanzashi flower.
I wanted an embellishment for the center, so I found some round clear beads and shiny-hanced them with Sally Hansen's silver anniversary nail polish (or whatever matching colors you have laying around the house).
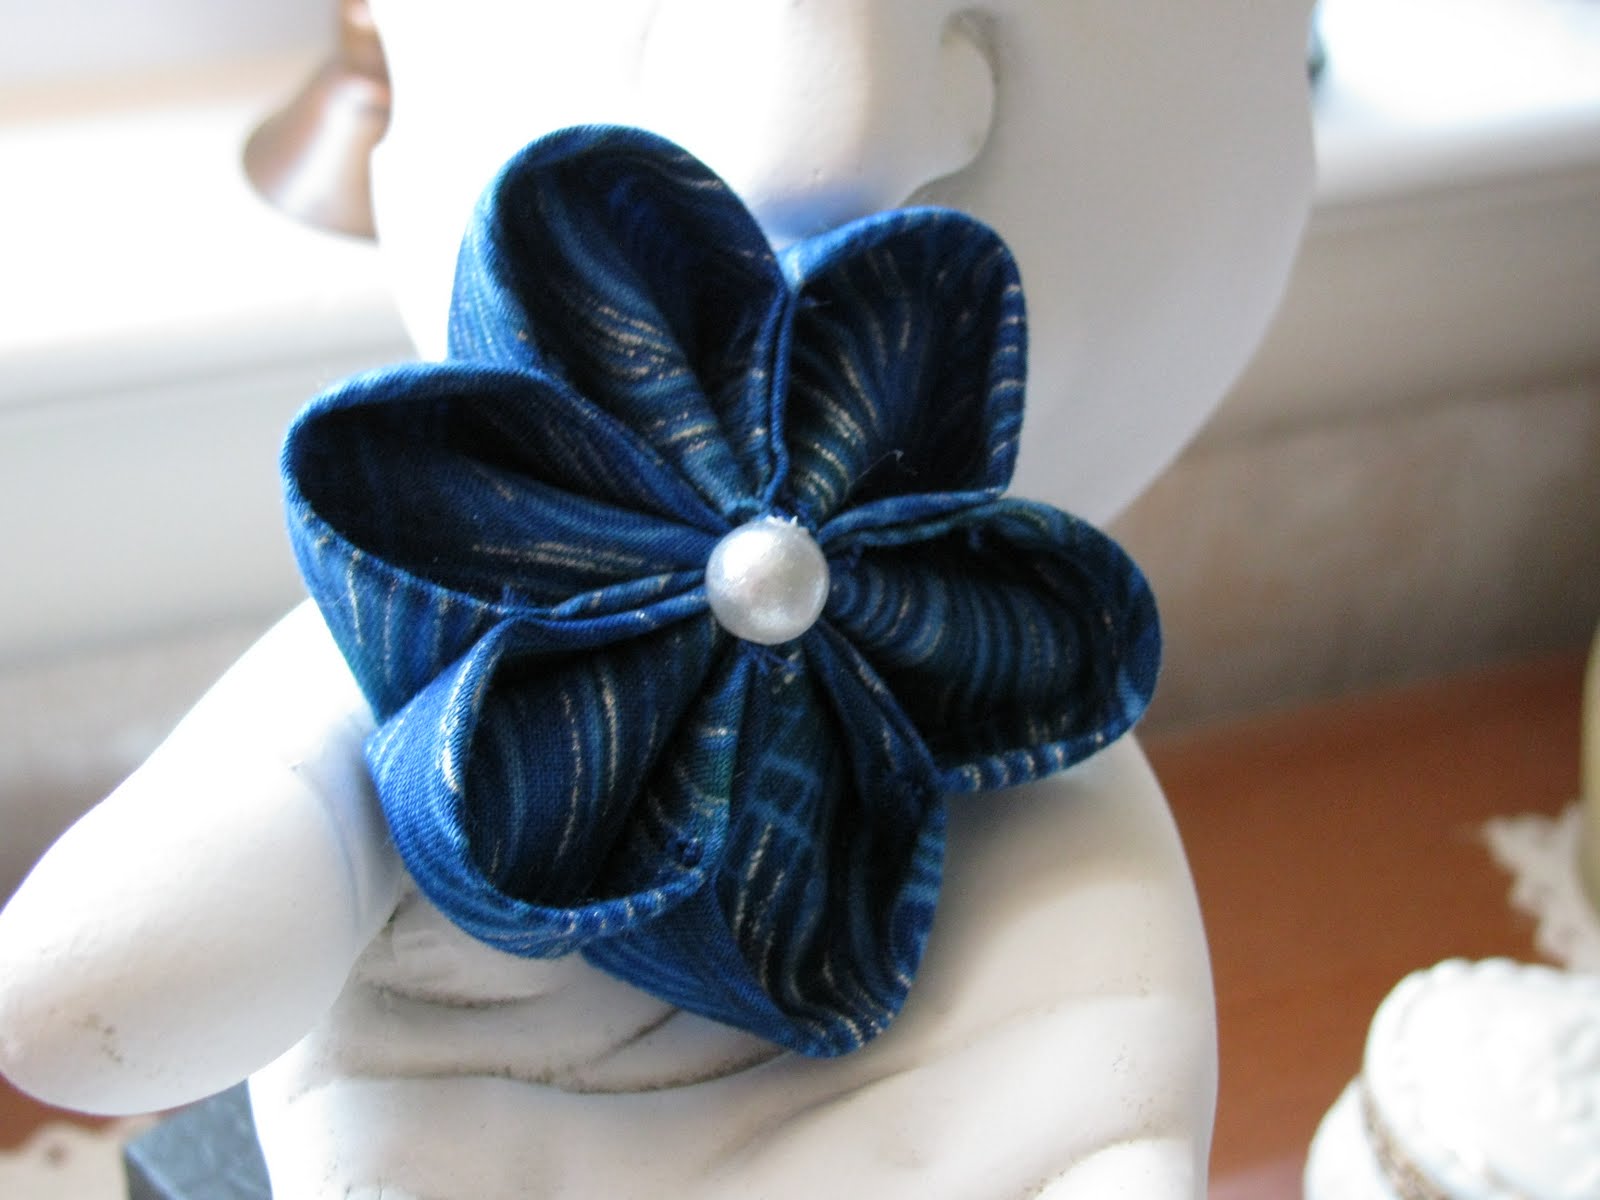
Done!
I love these kanzashi flowers because they're so simple to make and versatile to wear. Some ideas:
- sew a bobby pin onto the back and wear it in your hair
- hot glue some to a headband
- sew it onto a ribbon for a bracelet or belt
- make a tiny one for a ring
- glue a pin to the back for a brooch
- recreate authentic looking geisha headpieces
- make two for shoe clips
- layer them
- make hundreds of them for a curtain
- or just a few for a mobile
Come up with some ideas of your own and have fun!


Really great tutorial Thanx a lot!!! Now I'll try to make it! I really fell in love with kanzashi few days ago!
ReplyDelete